With the Printmaps online map editor, creating a map poster is as effortless as a leisurely stroll in the park—or depicting one! Whether you’re sketching itineraries, trails, or scenic drives, or uploading geo-data to showcase existing routes, our editor simplifies the process.
Ideal for print designers, tourism professionals, and individuals alike, the Printmaps editor offers versatility for both personal and professional applications. Produce stunning, high-resolution map posters tailored to your needs with ease.
Explore the features of the Printmaps editor and learn how to harness its full potential for your map poster projects.
Direction and route map poster
Customers rely on Printmaps to effectively display directions and routes. With our user-friendly editor, adjusting the print size is a breeze while ensuring impeccable print quality. You can tailor the print size to your needs, with the flexibility to go up to a maximum of 1330x1330mm.
Maps larger than 220mm side length are not available as PNG files. Instead, they will be provided in a layered PSD (Photoshop) or SVG file (Illustrator), allowing for seamless customization and preservation of quality.
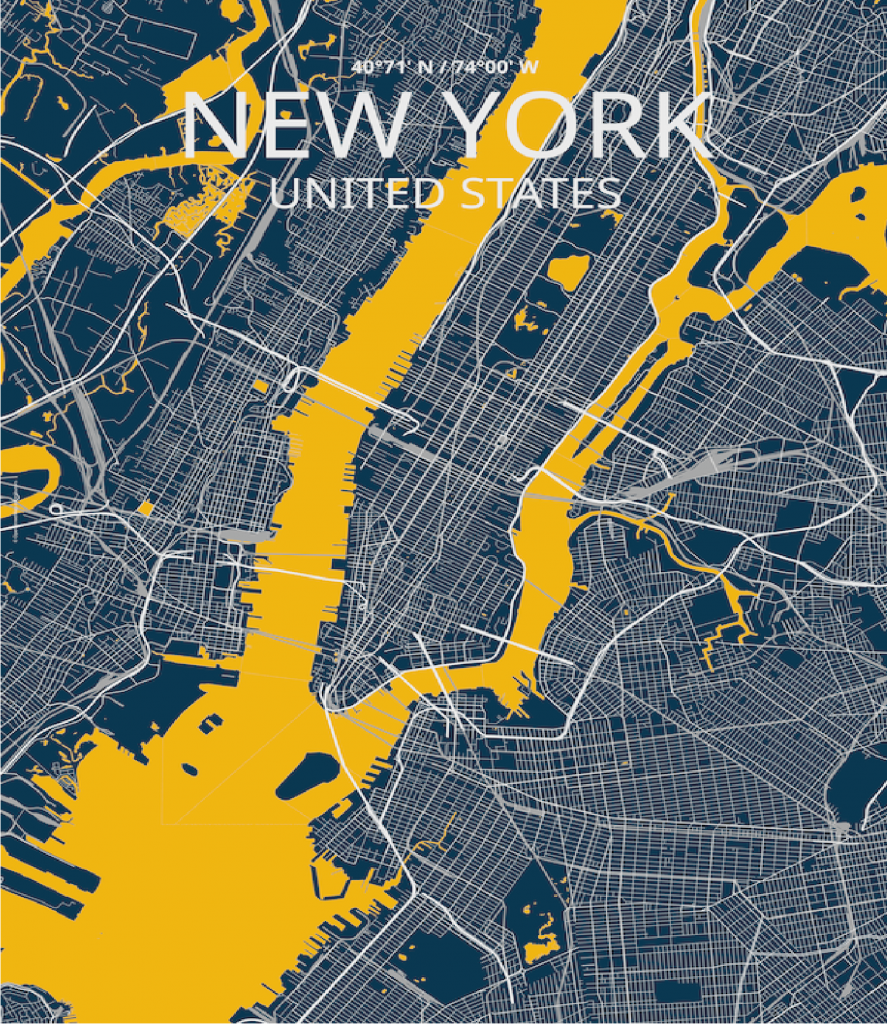
City map posters
Easily create route maps with pins, to showcase hikes or bike routes, or just simply directions. Draw lines on the existing roads, biking and walking paths. Tilt the map for the ideal city map perspective.
Easily create a route map with the route editor that draws on the exact roads you travelled!
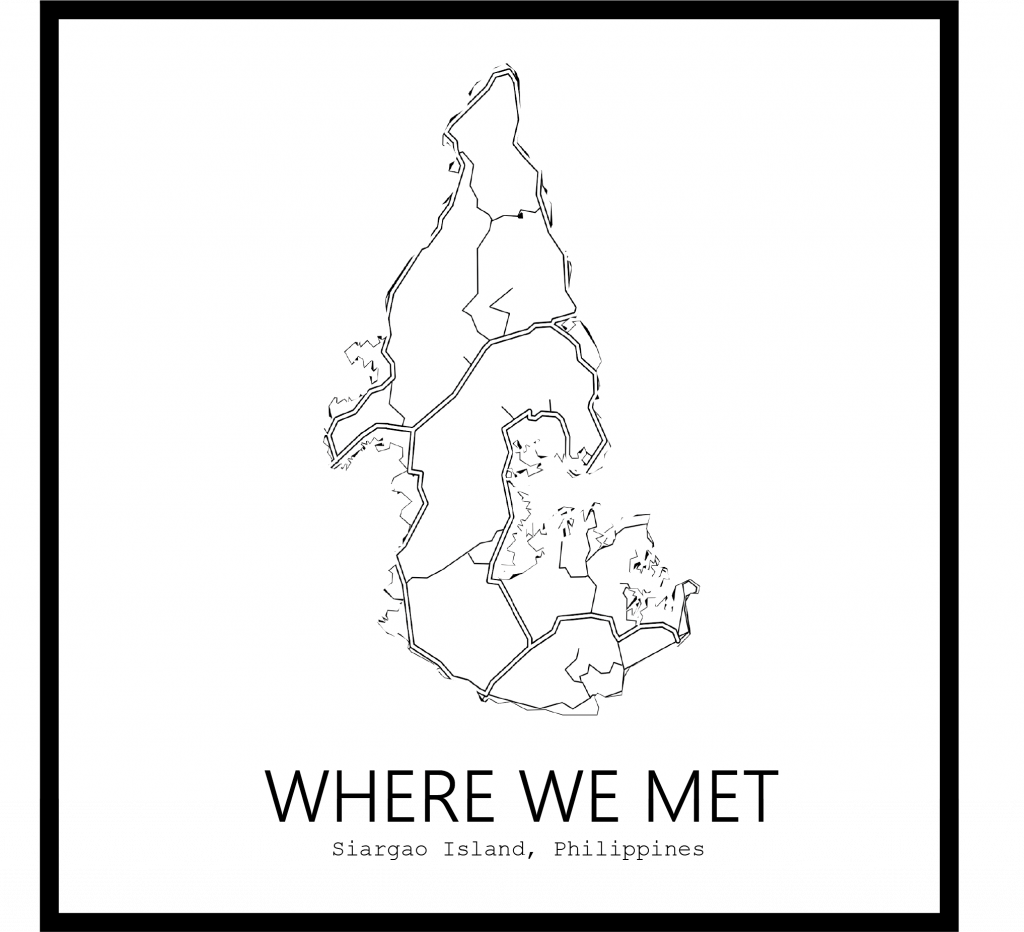
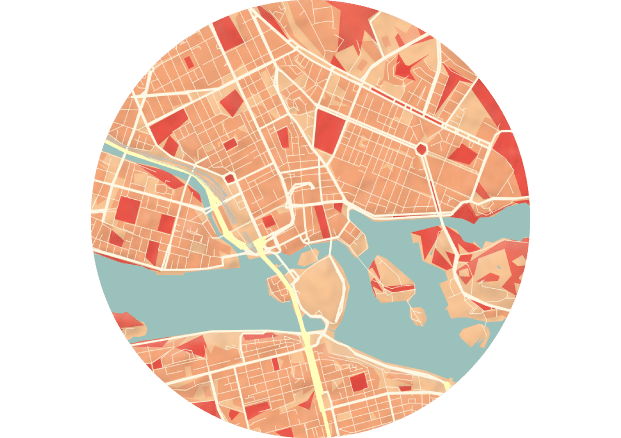
Map places of value to you
Whether it’s cherished memories, extraordinary experiences, or simply the feeling of home, certain places hold immense personal value. Create a map poster of your own happy place to adorn your home decor or to gift to someone special.
The Printmaps editor sources its data from OpenStreetMap, allowing you to effortlessly customize your map poster. Easily add or remove layers like city or road names, apply various map styles, and incorporate colored shapes. This flexibility empowers you to create a map poster that perfectly reflects your preferences, whether you prefer a detailed or minimalist design.
Try Printmaps
Our map-editor lets you create printable maps worldwide in no time.
FAQ
It is best practice to first select a frame sizes and then tailor your map to your frame. You can do that easily by determining the side lengths in the top left of the map editor. Our maps come with 300 dpi for PNGs and PSDs, which is optimal for printing. SVGs have scalable dpi, so you are free to choose for yourself.
That depends on a couple of factors. If you want to personalize your map extensively by post-processing it, PSDs and SVGs are the most optimal option, as each element is editable as a separate layer. PNGs are suitable for a printing size of up to 22 cm x 22 cm, PSDs for up to 66 cm x 66 cm, and SVGs can be used for any size, due to their scalable nature.
Yes. With our “Add Geo-Shapes” tool, you can highlight administrative shapes of any level, whether it is a district, city, state, or country. Next, you can invert the selection and choose the color and opacity.
Yes. You can choose whether you want to hide or show each label and map element in the advanced style settings of the editor.
How to Create a Map Poster with Printmaps
- Choose the size you want the poster to be
Our editor offers predifined standard sizes (A5, A4, A3, …) or you can choose customized side lengths of up to 1330mm. These sizes give an indication about at what size the end product can be printed while still being in high resolution, even at a short distance.
- Define the map area and zoom level
Select the map area you want to display by entering the desired location into the search bar or dragging and dropping the map with your mouse and scrolling to zoom in or out. At higher zoom levels, more details are displayed on the map.
- Choose your favorite map style and what details should be shown
We have a range of predefined styles you can choose from and you can modify what aspects of the map should be displayed in the design tab by checking and unchecking boxes. You can also choose to disable labels for the different features.
- Add routes, pins, or geographic shapes to your map
Highlight your favorite spots with pins in the “Add Content” tab, show routes you have travelled, and highlight cities, counties, states or countries.
- Purchase your map and print it out at a print shop